How to install your artwork
Measure your piece, find it on the wall plan, and mark the screw.
-
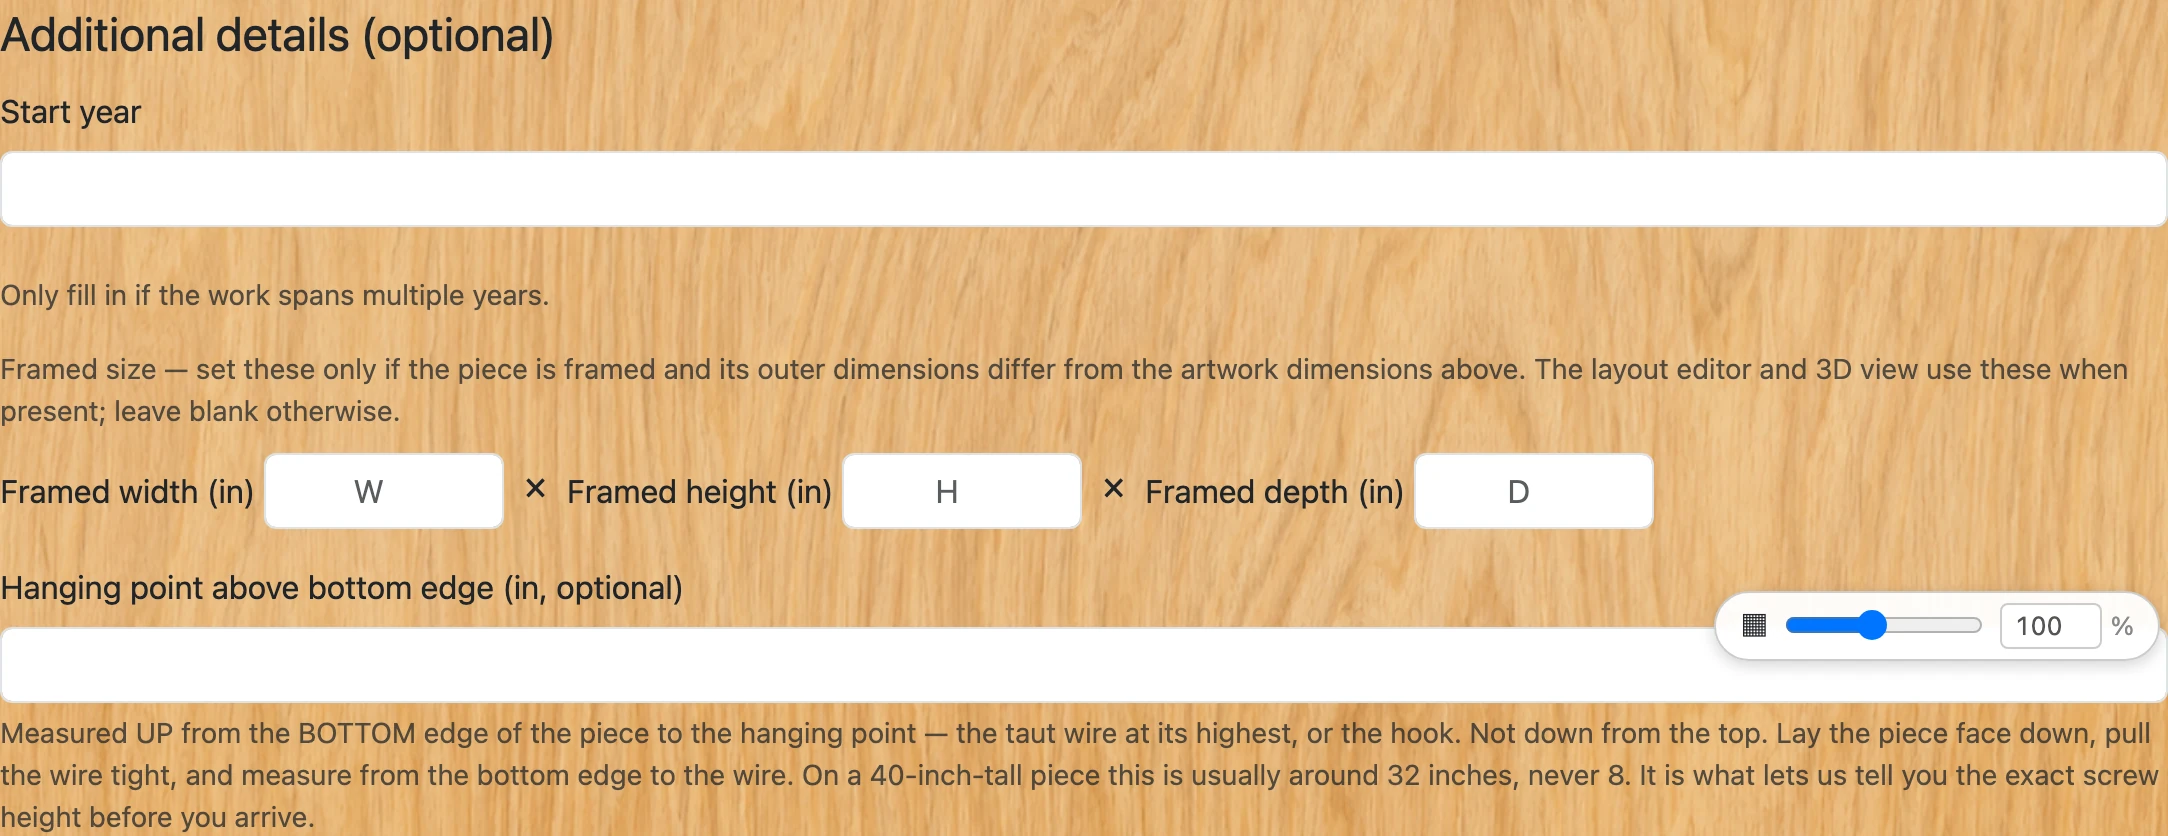
Two measurements decide where your piece ends up, and both are yours to give us. Do them before you set off — the wall is laid out from them days earlier, and a number corrected on the day moves everything beside it. Open Artworks, find the piece and click Edit; both live under “Additional details (optional)”.
-
If the piece is framed, fill in Framed width, height and depth — the size of the outside of the frame, not of the artwork inside it. Leave them blank if it is unframed or the frame adds nothing. The plan spaces pieces by their outer edges, so a framed work measured by its canvas is drawn smaller than it is and arrives touching its neighbour.

-
Then record the hanging point, in “Hanging point above bottom edge”. Lay the piece face down, pull the wire taut as if it were already hanging, and measure from the BOTTOM edge of the piece UP to the highest point of the wire — or to the hook, if it has one. Not down from the top. On a 40-inch-tall piece it is usually around 32 inches, never 8: if your number is less than half the height of the work, you have measured the wrong way and the piece will be hung a whole height out. Both measurements are drawn, with the wrong one crossed out, at the bottom of your scheduling page — the same page you booked your install time on.

-
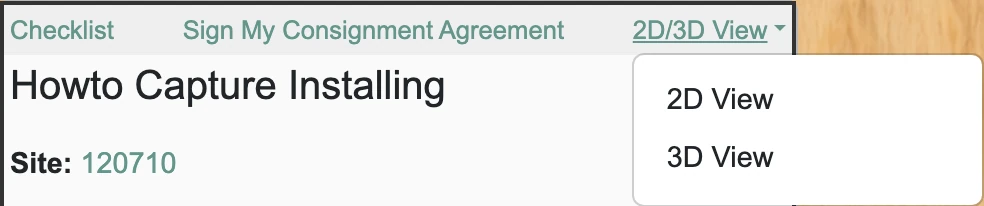
Now look at where it goes. Open the show page, and in the row of buttons at the top open the “2D/3D View” menu and choose “2D View”. That is the same floor plan the curator hung the show with, read-only: nothing you do there changes anything. If that menu is not there, the gallery has not published the room yet, and it is worth asking rather than guessing — see “How to read the 2D view of a show” for moving around it.
-
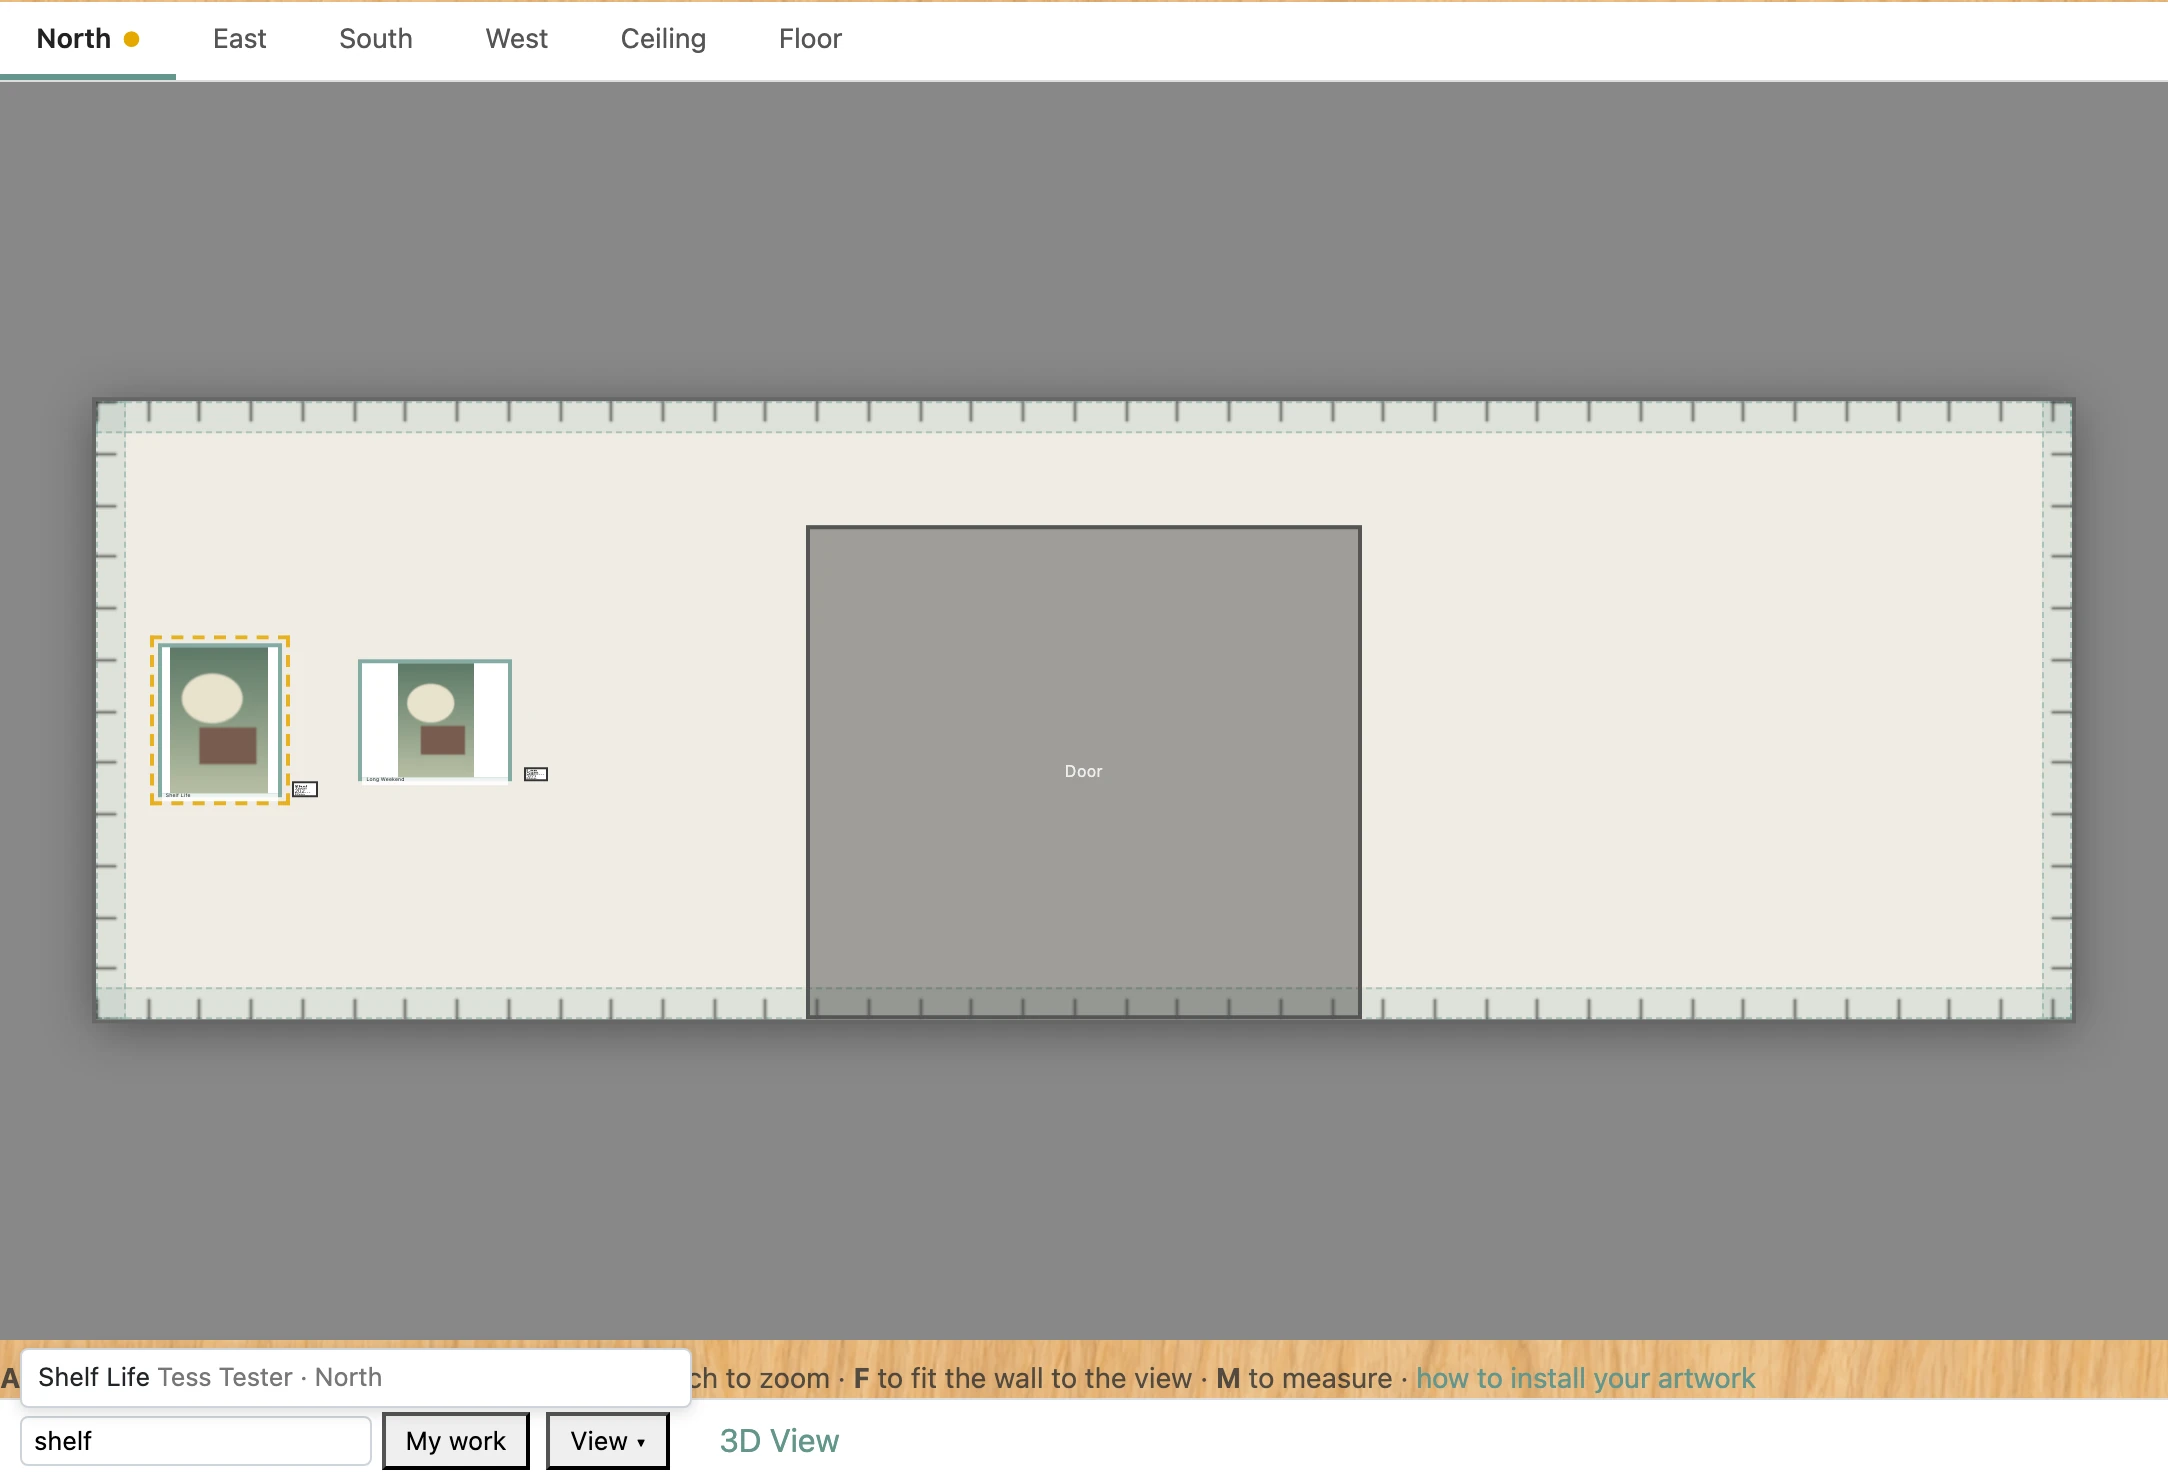
Find your work without hunting the walls for it. Everything of yours in the show is ringed in dashed amber wherever it hangs, and the wall tabs along the top carry an amber dot for every wall you have a piece on — so before you press anything you can see how many walls you are visiting. The “My work” button under the plan says how many pieces you have; pressing it takes you to the first and rings it solid, and pressing it again steps through the rest, naming where you are (“My work 2 of 3”) and changing wall with you. With one piece in the show it simply goes there. You can also type any part of a title or an artist’s name in the box beside it and pick from the list, which says which wall each match is on — useful for finding the piece that will hang next to yours.
-
With your piece on screen, open View and turn on “Hang Info”. Each piece then carries three small rows of measurements. The first two are the distances from its edges to the edges of the wall, which are there for checking. The third, the one with the screw, is the only one you drill from: ← is how far along the wall from its left-hand edge, ↓ is how high above the floor, and both are to the screw itself rather than to the piece. That row only appears once you have recorded a hanging point, which is why it is step three.
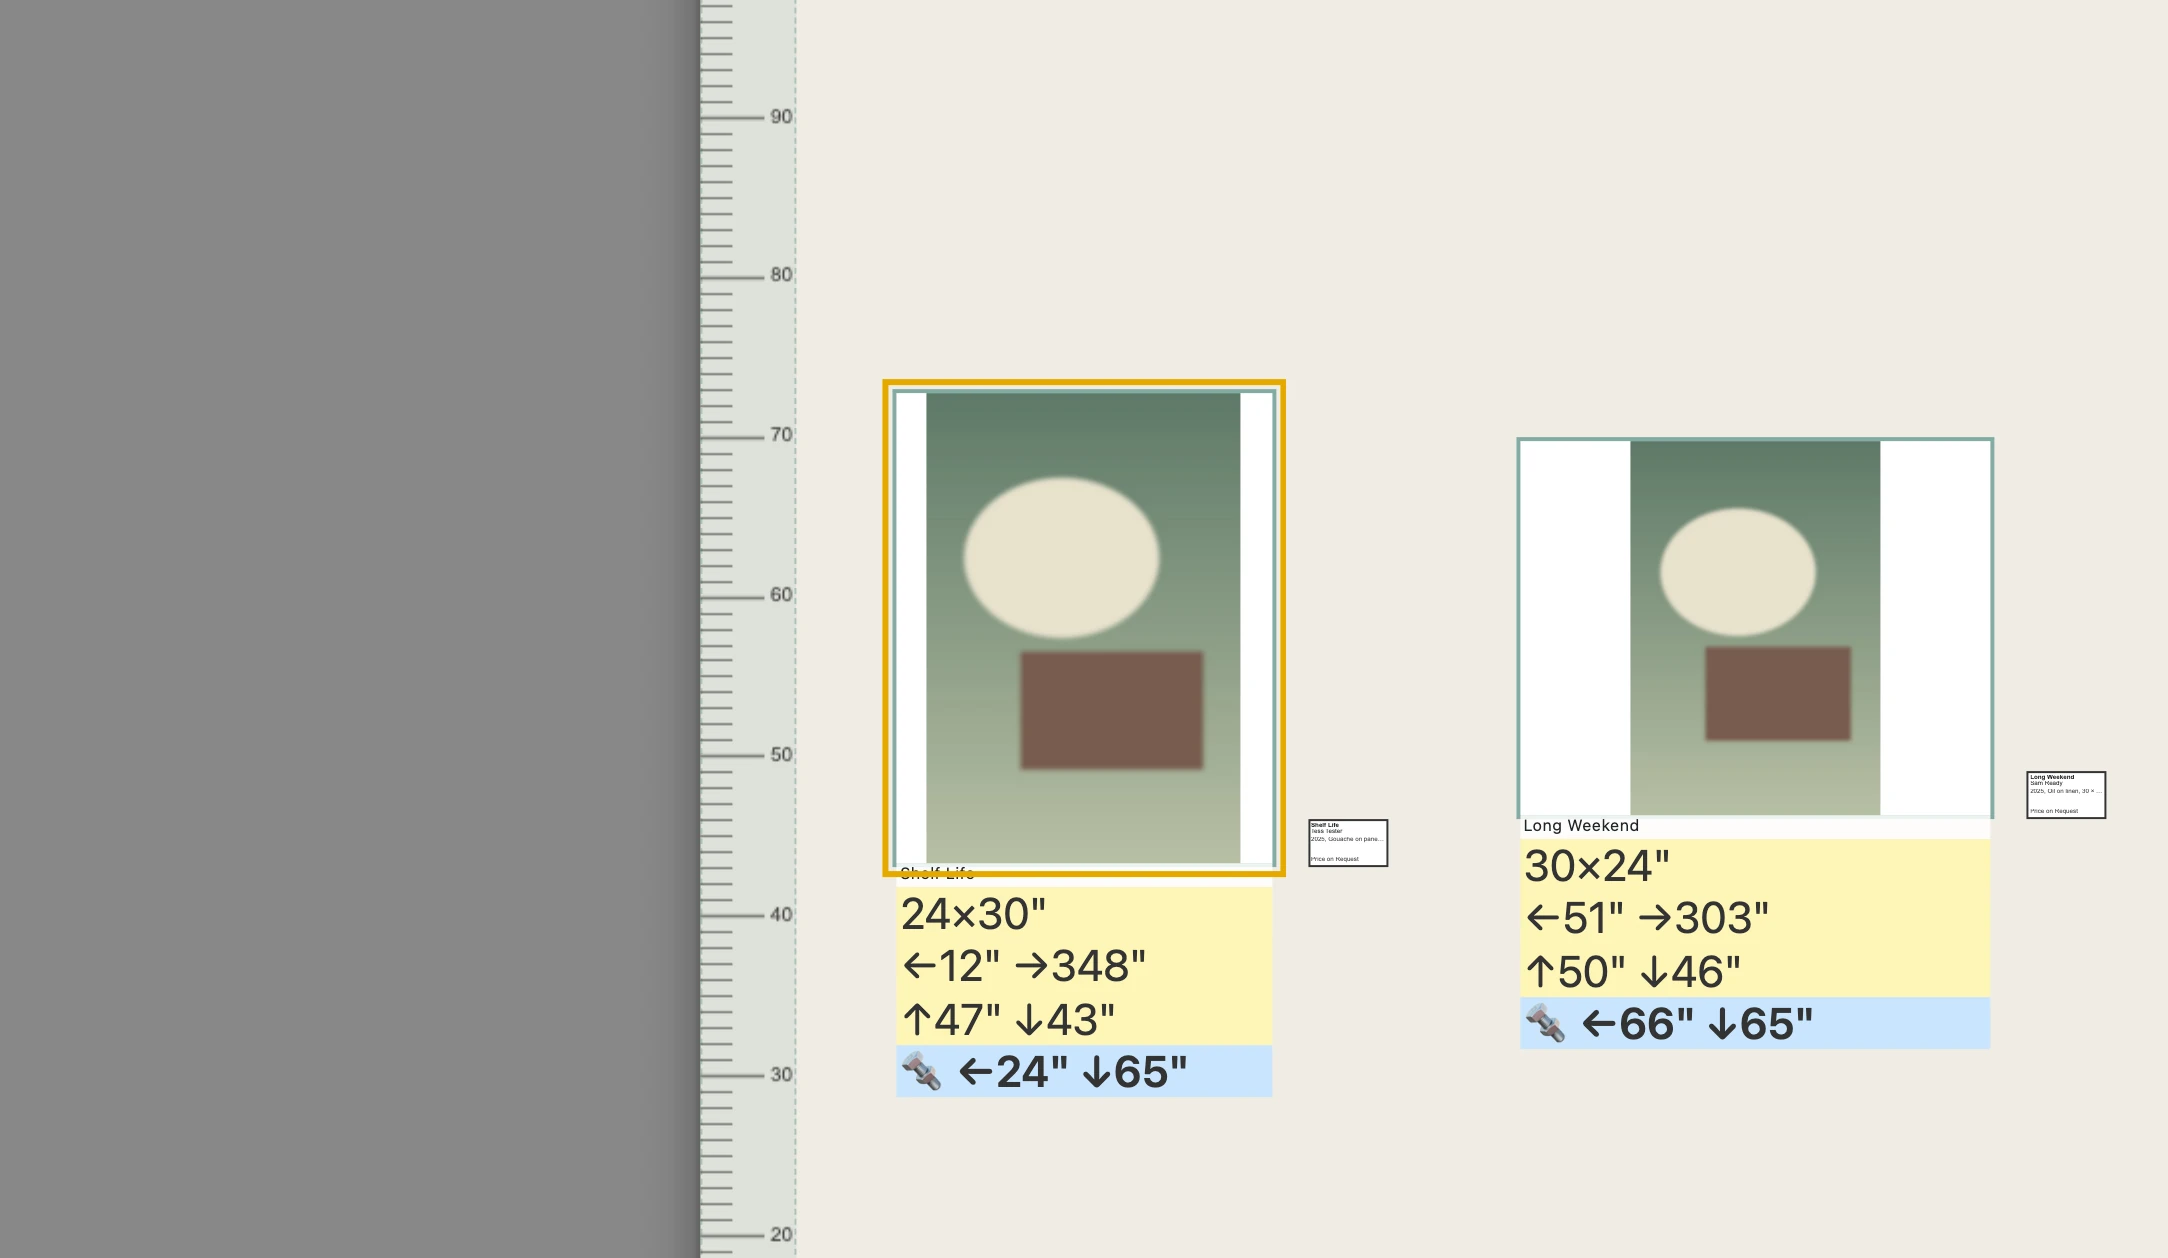
- Mark the wall from those two numbers: measure across from the left-hand edge of the wall, then up from the floor, and mark where they meet. That mark is the screw, not the top or the centre of the picture.
- If you use the laser measure, it is only telling you the truth when it is level with the ground and its dot lands on the wall or the floor. Tilted, or pointed at a doorway, a radiator or somebody walking past, it reads the distance to whatever it actually hit, which looks like a perfectly ordinary number. Check the dot, then read the number.
- Drive the screw, hang the piece, and step back: the plan is drawn to the inch, but the wall is the thing people look at. If something is out, tell whoever is installing with you rather than moving a neighbouring piece to match — the spacing is laid out as a whole.